How Difficult Is It to Install Vehicle Accessories Yourself?

Time:2026-09-10 Author:Charlotte
0%

Installing a roof rack, dash camera, phone mount, or trailer wiring can look simple in a product video. The real question is: how difficult is it to install vehicle accessories by yourself? The answer depends on the accessory, your vehicle, and your practical experience. A clip-on sunshade may take five minutes. A hardwired camera can require trim removal, fuse testing, and careful cable routing.

Automotive educator ChrisFix often reminds DIY drivers, “Take your time, and don’t skip steps.” That advice matters because small mistakes can create annoying rattles, drained batteries, damaged trim, or unsafe electrical connections. An experienced installer checks the vehicle manual, accessory instructions, wire colors, fuse ratings, and mounting points before touching a tool. They also protect painted surfaces with masking tape and test every function before replacing panels.

Some jobs feel easier than expected. Others become complicated quickly. I have found that confidence can be misleading, especially when a hidden airbag, tight fastener, or unfamiliar connector appears. It is acceptable to stop and ask a qualified technician for help. That is not failure. It is good judgment.

This guide examines installation difficulty by accessory type. It considers required tools, estimated time, skill level, common mistakes, and safety checks. You will see where a careful beginner can work independently. You will also learn when professional installation offers better reliability, cleaner results, and fewer surprises.
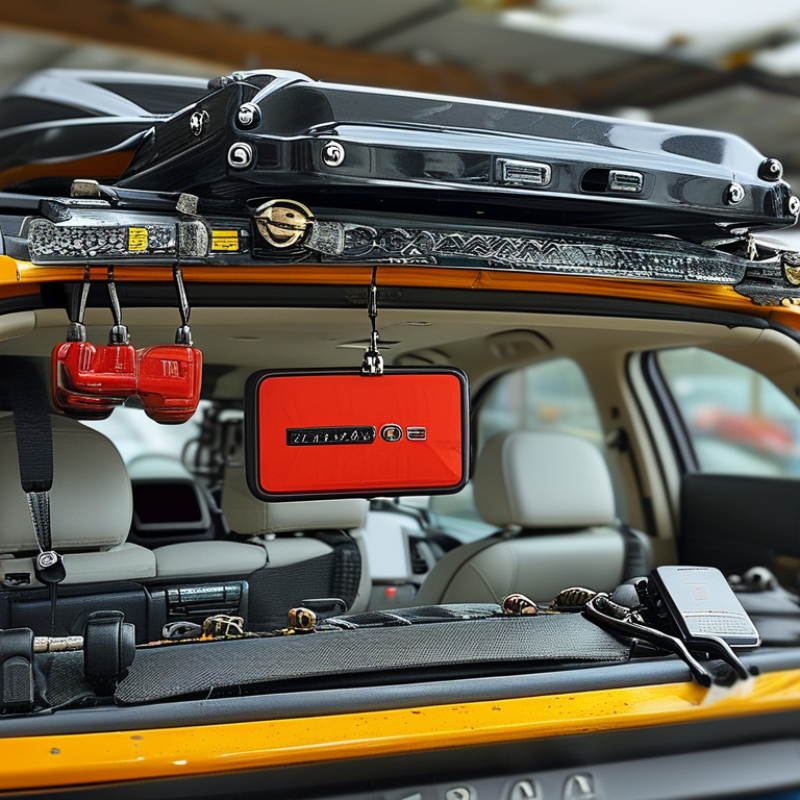
How Difficult Is It to Install Vehicle Accessories Yourself?

Types of Vehicle Accessories and Their Installation Requirements

Vehicle accessories vary widely in difficulty, so installation requirements matter more than appearance. Floor mats, cargo organizers, and basic phone mounts usually need little more than correct positioning. Check their fit carefully. A loose mat can slide under a pedal, while a weak mount may fall during sudden braking. Seat covers are also manageable, but airbag seams must remain unobstructed. Many owners rush this step.

Lighting accessories, dash cameras, and power outlets require more care. They may connect to the vehicle’s electrical system, so installers should identify the correct fuse, protect exposed wires, and avoid pinching cables near doors. A multimeter helps confirm power safely. Keep wiring neat. Disconnecting the battery may prevent accidental electrical damage, but some vehicles lose stored settings afterward.

Roof racks, tow-related equipment, and suspension accessories usually demand stronger tools and accurate torque settings. Their fasteners carry significant loads, especially on rough roads. A torque wrench is not optional here. Cameras and parking sensors may also need calibration after installation. I have found that a job can look finished while still being unsafe underneath. If instructions seem vague, the vehicle has complex electronics, or drilling is required, professional installation is the wiser choice. DIY work saves money sometimes, but not when a small mistake affects control, visibility, or passenger protection.

Tools, Skills, and Safety Checks Needed Before Installation

Installing vehicle accessories yourself can be manageable, but confidence should follow preparation, not replace it. The job begins with the vehicle manual, accessory instructions, and a clean work area. Useful tools include socket sets, screwdrivers, trim tools, a torque wrench, an electrical tester, gloves, and eye protection. A flashlight helps locate hidden clips and connectors. Cheap tools can slip and damage fasteners. I learned that after forcing a panel and cracking one retaining clip. Small mistakes become expensive quickly.

Your skill level matters more than the accessory’s size. Basic mechanical work may suit a careful beginner, while wiring, drilling, or airbag-adjacent panels demand stronger training. Disconnect the battery only when instructions permit it, because some vehicles require power for memory or safety systems. Never guess at wire functions. Test circuits with the correct meter and protect connections from moisture, heat, and movement. Keep loose clothing away from moving parts, support raised vehicles with approved stands, and never rely on a jack alone. Never work carelessly.

Before installation, inspect the accessory for cracks, missing hardware, and unclear instructions. Confirm fitment, mounting points, clearance, and maximum load. Check that doors, lights, sensors, pedals, and visibility remain unaffected. After tightening, use the specified torque rather than “tight enough.” That shortcut is tempting. Perform a slow hand check, then a stationary function test. Recheck fasteners after a short drive and listen for rattles. If wiring, structural panels, or safety features are involved, pause and consult a qualified technician. I still photograph cable routes because memory is unreliable.

Step-by-Step Process for Installing Common Vehicle Accessories

Installing common vehicle accessories is usually manageable, but preparation decides the difficulty. S&P Global Mobility reported that the average U.S. vehicle age reached 12.6 years in 2024. Older wiring and brittle trim need extra patience. Read the vehicle and accessory manuals before touching any panel. Gather trim tools, a multimeter, protective gloves, clean cloths, and the correct fasteners.

Start with a dry fit. Place the accessory where visibility, airbags, pedals, and controls remain clear. For a dash camera, route the cable along the headliner and pillar trim. Do not place wiring across an airbag path. For a phone mount, clean the surface and test viewing angles while seated. For a roof-mounted accessory, inspect mounting points, seals, and the specified tightening torque. Never guess.

Disconnect the negative battery cable when the instructions require electrical work. Install the fuse at the recommended rating, then check voltage with a multimeter. Secure loose wiring with removable clips, not sharp ties. Reconnect the battery and test every function, including lights, sensors, and steering-wheel controls. The Insurance Institute for Highway Safety reports that driver-assistance systems can create new risks when poorly maintained or misunderstood. That makes careful testing essential. My own process would include a short, quiet-road test, followed by another inspection. Small movement matters. A panel may look secure but still rattle later. If a connector resists, stop and recheck it. Force is not expertise.

Common Installation Challenges and Ways to Solve Them

Installing vehicle accessories looks simple until the dashboard panel refuses to release. S&P Global Mobility reported that the average vehicle age reached 12.6 years in 2024. Older vehicles often have brittle clips, modified wiring, or incomplete installation records. Check the exact model year, trim, connector type, and available space before buying anything. Measure twice.

Electrical work creates the greatest risk. A loose ground can cause flickering lights, warning messages, or a drained battery overnight. The Auto Care Association’s 2024 Factbook valued the U.S. aftermarket at approximately 500 billion dollars in 2023, showing how many products now enter home garages. Use a multimeter, disconnect the negative battery terminal, and protect exposed wires with proper insulation. Never rely on tape alone. That mistake matters.

Fitment problems are also common with roof carriers, lighting systems, and interior storage parts. Follow the manufacturer’s torque values, not personal judgment. Test every function before replacing trim panels. I have learned that rushing the final check causes more trouble than the installation itself. If an airbag area, steering control, or vehicle safety system is involved, professional help is the safer choice. A small labor charge can prevent expensive diagnostic work later.

How Difficult Is It to Install Vehicle Accessories Yourself?

Typical DIY installation time by accessory type

Simple accessories such as phone mounts usually require little time and minimal tools. Electrical accessories, including dash cameras and backup cameras, take longer because they involve cable routing, fuse connections, calibration, and careful panel removal. Before starting, check the vehicle manual, disconnect the battery when appropriate, protect trim panels, and test every function before final assembly.

When Professional Installation Is the Better Choice

Installing simple vehicle accessories can feel like an easy weekend project. A phone mount or cargo organizer usually needs basic tools and patience. However, professional installation becomes the safer choice when wiring, structural parts, or safety systems are involved.

Electrical accessories often require more than connecting two wires. A technician can identify the correct circuit, protect the fuse system, and hide wiring behind trim without creating rattles. Poor connections may cause intermittent faults weeks later. That is difficult to diagnose at home. Accessories near airbags, steering controls, or driver-assistance sensors demand even greater care. One misplaced cable can interfere with deployment paths or sensor accuracy. Professional installers also check clearances, fastener torque, and road visibility before returning the vehicle.

I once underestimated a small wiring job. The installation worked, but a loose trim panel began tapping against the dashboard on rough roads. It was not dangerous, yet it showed how rushed work affects daily comfort. My approach would now include photographing each connector, labeling removed parts, and testing every function twice. Still, some tasks exceed a careful owner’s tools or knowledge. If installation requires removing airbag panels, drilling load-bearing areas, or recalibrating sensors, trained help is usually worth the cost. Ask how the work will be tested, what documentation is provided, and whether the installer follows the vehicle’s service procedures. A neat finish matters, but hidden safety checks matter more.

FAQS

: Which vehicle accessories are easiest to install at home?

: Floor mats, cargo organizers, and basic phone mounts are usually manageable. Check their fit and stability carefully. A loose mat can slide beneath a pedal.

What should I check before buying an accessory?

Confirm the vehicle’s model year, trim, connector type, and available space. Measure the installation area twice. Do not guess.

How can I install seat covers safely?

Keep airbag seams completely unobstructed. Incorrectly fitted covers may interfere with airbag deployment. Many owners rush this step.

What precautions apply to electrical accessories?

Identify the correct fuse and ground connection before wiring. Use a multimeter to confirm power safely. Protect exposed wires with proper insulation.

Should I disconnect the battery before electrical work?

Disconnecting the negative terminal may reduce accidental electrical damage. Some vehicles can lose stored settings afterward. Record important settings beforehand.

Why are roof racks and suspension parts more difficult?

Their fasteners carry heavy loads, especially on rough roads. Use the specified torque values and a torque wrench. Personal judgment is not enough.

When should parking sensors or cameras be professionally installed?

Professional help is wiser when calibration, drilling, or complex electronics are involved. A camera can appear functional while remaining inaccurate. Test it twice.

What final checks should I complete after installation?

Test every function before replacing trim panels. Check wiring, visibility, clearances, fastener tightness, and unusual noises. A neat finish is not proof of safety.

What mistakes have you learned from during installation?

I once underestimated a small wiring job. The accessory worked, but loose trim tapped against the dashboard. Now I label connectors, photograph parts, and retest everything.

Conclusion

How difficult is it to install vehicle accessories by yourself depends on the accessory, your experience, and the tools available. Simple additions such as interior organizers, phone holders, floor protection, or basic lighting may require only careful reading of the instructions and a few common tools. More complex upgrades involving wiring, sensors, structural parts, or electronic systems demand stronger technical skills and greater attention to safety. Before starting, prepare the correct tools, disconnect power when necessary, protect the vehicle’s surfaces, and check that the installation will not interfere with visibility, controls, or essential safety equipment.

A successful installation usually involves inspecting the vehicle, understanding the instructions, preparing the mounting area, completing each step in order, and testing the accessory before regular use. Common problems include missing hardware, tight spaces, incorrect alignment, loose connections, and unexpected compatibility issues. These can often be solved by reviewing the instructions, measuring carefully, and avoiding rushed adjustments. However, professional installation is the better choice when the task involves advanced wiring, airbag-related areas, braking or steering components, permanent modifications, or uncertainty about safety.

Charlotte

Charlotte

Charlotte is a seasoned marketing professional with a deep understanding of the company's portfolio and a passion for elevating its presence in the market. With a keen eye for detail and a commitment to excellence, she ensures that our professional blog is regularly updated with insightful articles......